A fun Middle School Painting Project!
- ArtfulMommy

- Sep 8, 2023
- 3 min read
I've been doing this Candy Corn painting project with my 6th Graders for the past 3 years, and it always turns out great! It's definitely a challenge for them, but also a huge accomplishment when they finish it! This project really allows all of my students to shine! This is the first project of the year with my 6th graders, we aim to get it done before Halloween!

Here is how I do it. I give everyone a few candy corns and ask them not to eat them until the end of class. I also give them half of a small index card. I have them place their candy corn on their index card, and move their candy corn around until they find a nice composition. Then they draw that composition on the other half of their index card, this will be their rough draft. I tell them they can make their rough draft candy corn drawing bigger than the actual candy corn, but not smaller. Some kids will want to do one big candy corn, that's okay. This is their composition, so I leave it up to them.
Before your students draw their candy corn, explain ellipses. The lines on the candy corn shouldn't be straight across, they should be curved like ellipses. This will help make the candy corn look 3-dimensional!

Once they show me their small rough draft, I give them a large piece of thick paper for painting on. I tell them to draw their composition on the large paper. I tell them to draw it light, because you will be painting over the pencil and you don't want pencil lines to show through.
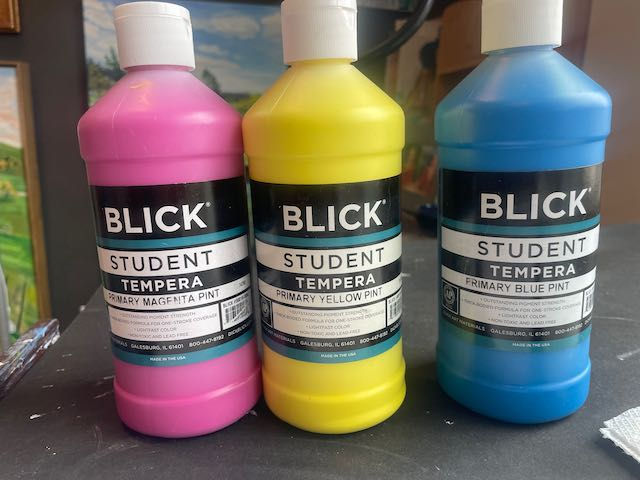
Next I demo painting the candy corn. I start with the 3 basic colors, white, yellow and orange and later add red and turquoise (for shades and background). It is super easy to make it look like a candy corn with just white, yellow and orange. Yes, they have to paint the white part white. This is where you have to review how to paint with kids. One thing some novice painters do is they drag their brush to the edges and create bumpy edges. Often they don't use enough paint as well. I show them how to load the tip of the brush and paint along their pencil line (edges) first to create an outline. Then they can fill in the outline. If they go outside the lines they will be able to paint over it later when they paint their background.
Next I demo tints. Tints are when you add white to paint to create reflections and highlights. Have your students look at their actual candy corn (they need constant reminders not to eat it) and see the reflections and high lights, where are they? Show them how to mix tints. I use paper plates for distributing paints and mixing colors in my Elementary classroom, because classes are short and we don't have time to wash pallets.
If your class has done a lot of painting and you think they can handle shades, introduce shades. I never shade with black, I always shade with complimentary colors. Black has a tendency to turn things grey and to kill color. If you are using good paint, you can get a color close to black by mixing the proper amounts of the primary colors together. Shades are much harder for the novice artist, they will quickly get too dark. I show my students how to create shades by adding the compliment, but then I leave it up to them if they would like to make shades.

.
Lastly comes the background. I give kids a choice here. The turquoise always looks good, because it is the compliment to orange, but I love variety, so I encourage each child to try a background color they like. A few kids always splatter, I let them.

Even with older kids it is about process, they learn so much when you give them the freedom to make their own choices and to experiment. Raising artists is like raising children, if you save them every time before they make mistakes, they will never learn! Mistakes are an important part of art making! Perfection on the other hand is the demise of creativity, I try not to even use the word perfect in the art room.
This project usually takes 3-6 classes, depending how long your classes are. I love it because candy corns are so easy to draw, everyone dan do it. The painting process in this project is also very simple, and gives them some good practice with tints and shades!


Comments