First Grade Winter Collage - Pointillism, size and placement
- ArtfulMommy

- Jan 11, 2023
- 3 min read
Updated: Jul 19, 2023


This was a fun two day project that I did with my first graders based on the book "Snow" by Uri Shulevitz. This project was definitely more prescribed and "crafty" than most of my projects, but it also allowed me to teach them specific concepts, such as pointillism, size, and placement.
First let me start by saying the first graders at my school are amazing. They can listen and follow multi-step instructions. This project would also be well-suited for 2nd grade.
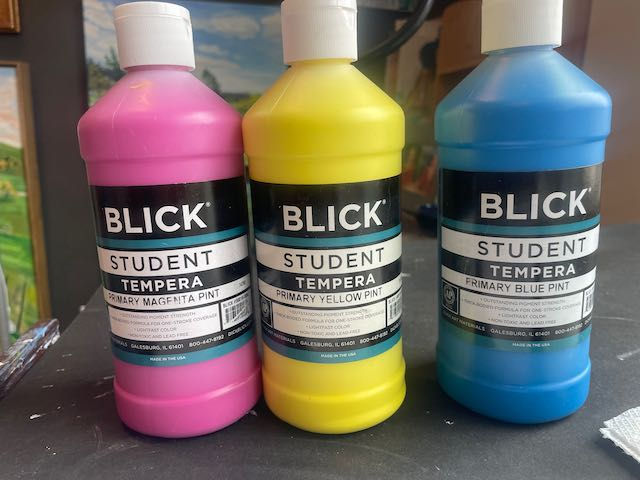
Supplies Needed: White paper, gray paper, green and blue liquid watercolors, pencils, scissors, glue, white tempera paint, q-tips.
Time: Two 30 minute class periods.
Day 1: I gathered students on the rug and demoed how to draw tree shapes and fill them in with little dots of color. This technique is called pointillism. I also showed them how the artist Georges Seurat painted A Sunday Afternoon on the Island of La Grande Jatte using this technique. When you look at Seurat's painting up close you will see lots of little dots. When you look at it from a distance the colors blend together and it looks like a regular painting. Seurat's painting is huge, ask the kids how long they think it took him to paint it! Answer: Over 2 years!
I then showed students my example which had 3 large trees and 2 small trees. I pointed out the size of the trees up close were larger and the size of the trees far away were smaller. I asked them to draw 3 large trees and at least 2 small trees on their white paper. We also talked about the placement of the trees. The larger trees are placed down low, and the smaller trees are placed up high, this makes the painting appear to have a sense of space! This is a lot for first graders, they will understand it, but might not be able to get it right in their collage, that's okay.

I gave each table an ice cube tray with just yellow, blue and turquoise liquid water colors so that students could make green when their colors mixed. For this project I did not add water to the liquid water colors. If you want to create lighter colors or stretch out your paint you can add a little water to your liquid water colors, but it will make the colors less vibrant. Q-tips were their brushes.
The younger kids get a little tired of the dot, dot, dotting. Remind them to be patient and try to cover most of the white paper in the trees. If they finish quickly ask them to do medium sized trees too.

Day 2: Start by reading the book "Snow" by Uri Shulevitz. Demo how they will cut a large snow background of out white paper and glue it onto the gray paper. Show them how to glue by going all around the edges of the paper they are gluing and then making an x through the middle. First graders should be shown everything, even how to roll up and down the glue stick.
Then show them how to cut out the trees. I show them how to first do a "messy cut." Basically cut each tree out quickly, then you have a smaller piece of paper to work with when cutting out the tree and it is easier to do a "clean cut." They will wonder if they should cut outside of the pencil lines. Show them how you want them to cut the pencil lines off as much as possible. This may be impossible for some of them as they just don't have the dexterity yet.

Remind them that the large trees should be placed down low and the small trees should be placed up high. This will help create a sense of space. First graders are not the best at gluing. Keep reminding them that the whole tree should be glued to the paper, no parts should be peeling up. Next pass out the white paint and q-tips and tell them they are going to make it snow. They will use the same dot, dot, dot technique that they learned with pointillism.
Let them get as creative as they want with the snow. There could be snow storms, clouds, flurries, etc!
If you wanted to do this project with older grades you could have them draw a city scene, similar to the one in Snow instead of the trees. You could give them more color options this way as well.
Let your students choose the orientation of their paper. It could be a horizontal or vertical composition! Have fun!


Comments