Painted Leaf Wreaths
- ArtfulMommy

- Nov 18, 2021
- 2 min read

A few months ago I took the job of Art teacher at my kids elementary school. Needless to say, it has been a very busy and fun transition into the world of Elementary Art. I came across Deep Space Sparkle the other day and found it to be a great resource for elementary projects. We did this Textured Fall Leaves project which left us
with lots and lots of painted leaves. What to do with all these painted leaves? I chose one of my classes and we created Painted Leaf Wreaths with them. They were fun and easy to make and are a great project for kids to take home around the holidays. Read on to see how we made them!
There is one huge difference between Elementary and High School kids. Elementary aged school kids are ENTHUSIASTIC! They want to answer questions. They clap when you show them how to do things. They want to tell you EVERYTHING! They want to help you clean up. They get excited about stuff and it makes teaching fun! Here is a project to get excited about! This is two part. First you will need the painted leaves. You can get these by doing the above mentioned Textured Fall leaf Prints project. Or you can just let your students spend a day painting leaves. Let the painted leaves dry overnight and make these wreaths during the following class!

SUPPLIES NEEDED: Painted leaves, paper plates, yarn, paint, brushes, glue, large pieces of construction paper (or newspaper).
TIME NEEDED: one 30 minute class (plus one class before to paint the leaves)
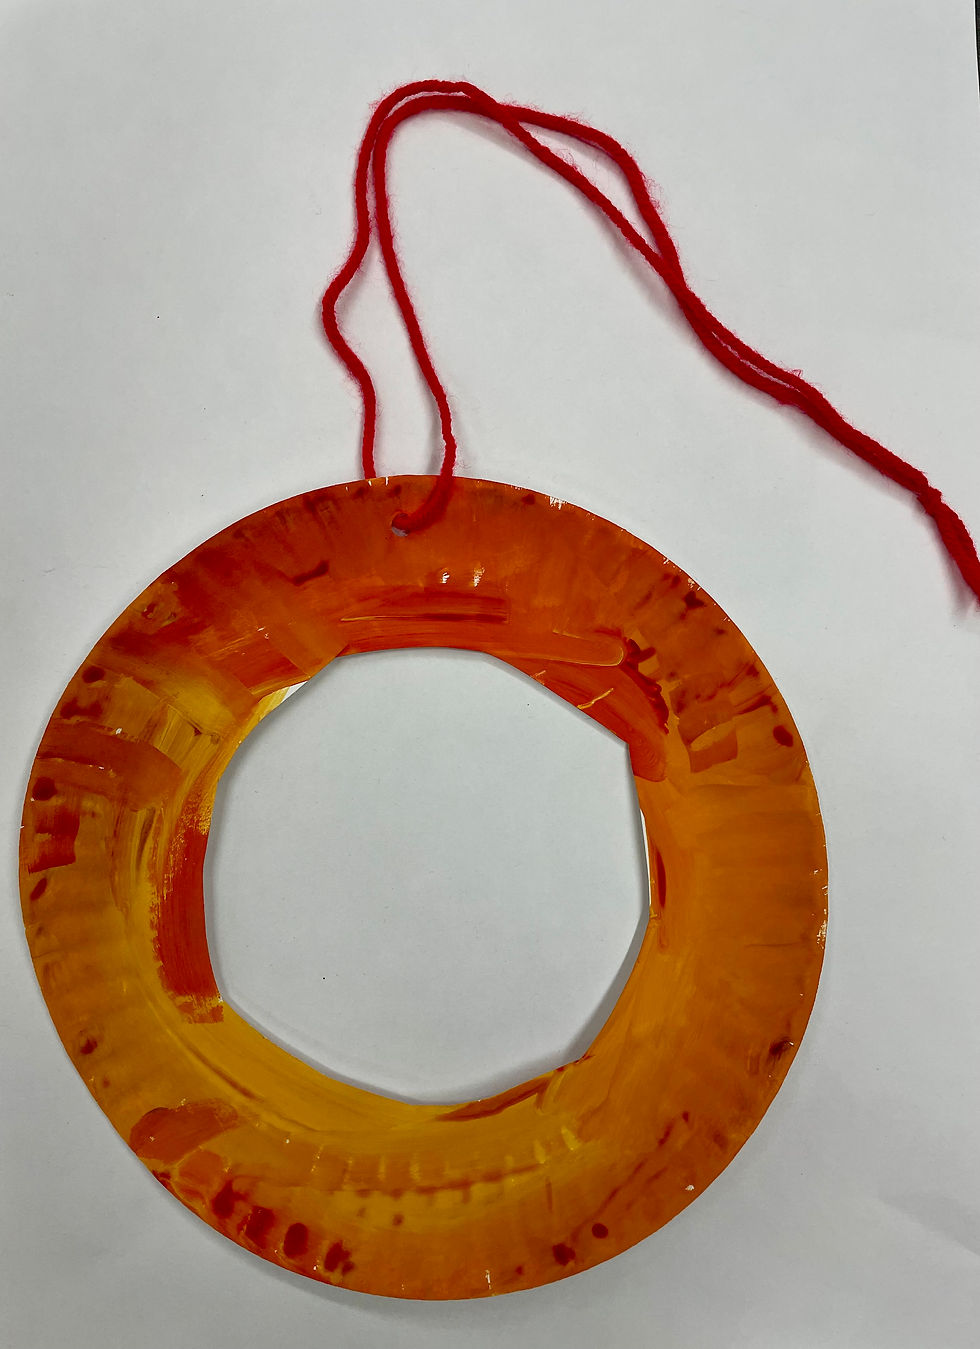
Instead of throwing away all of our painted leaves from the Textured Fall Leaves project I laid them out on a piece of newspaper overnight and let them dry. Then I prepped some paper plates by cutting out the middle and punched a hole in the top. I also precut the string.

I laid out one large piece of construction paper per student on the tables. Another option would be newspaper. This makes it easier to move the wreaths around while they are drying.

Step 1: Tie the yarn onto the wreath. The younger kids don't know how to tie yet, you will have to demonstrate how to do this or help them.
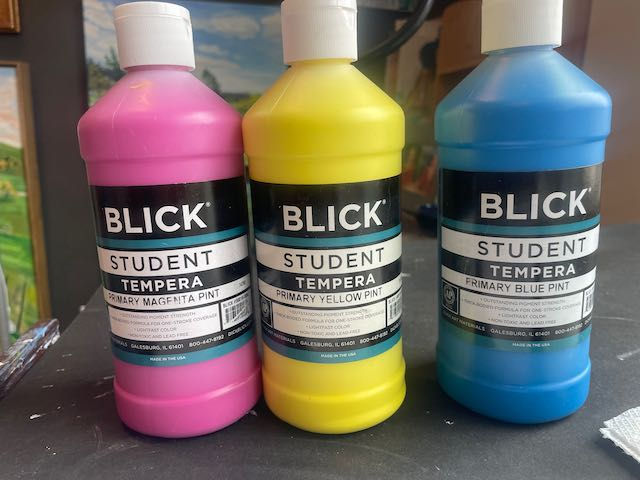
Step 2: Have students paint their wreath. Keep it simple and limit it to one or two colors. You could also use this as a teaching moment and let them mix the primary colors together to get brown.
Step 3: Spread the painted leaves out on a table. Ask students to choose approximately 10 painted leaves.
Step 4: Ask students to thoughtfully glue the leaves around the paper plate, keeping the middle part open.
Step 5: Let it dry overnight. It takes a while for the glue to set with the leaves on it. You will want to press down on them again once the glue has started to dry.

My students really got into the placement of the leaves. They were focused, quiet and thoughtful during the placement of their leaves.

This really was a simple, fun and successful project. Try it out and let me know what you think!


Comments