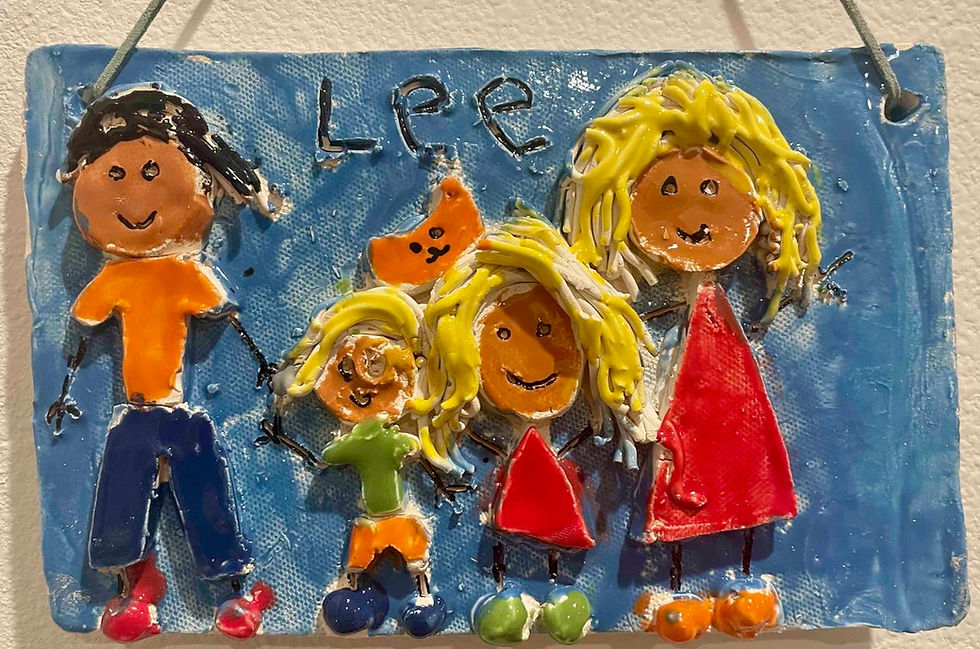
Second Grade Clay Family Plaque
- ArtfulMommy

- Nov 7, 2023
- 2 min read
Updated: Dec 2, 2023
This project has been a second grade art project for many, many years at my school. Kids and parents love it. There is a lot of prep that goes into it, and you will want to recruit some parents to help you on the day you make it, but the results will last a lifetime! Scroll down to the bottom for the video tutorials!
Step one, use a multi-slab cutter to cut the clay. Roll it and cut it into a rectangular piece. Each piece will make one plaque. Cut a piece in two and that will be your extra piece for the bodies. If you have multiple classes you will want to do this in advance and wrap them in saran wrap and then a zip lock baggie. You will have one rectangle and one half piece wrapped in saran wrap in a plastic baggie, ready to go for each child the day of.
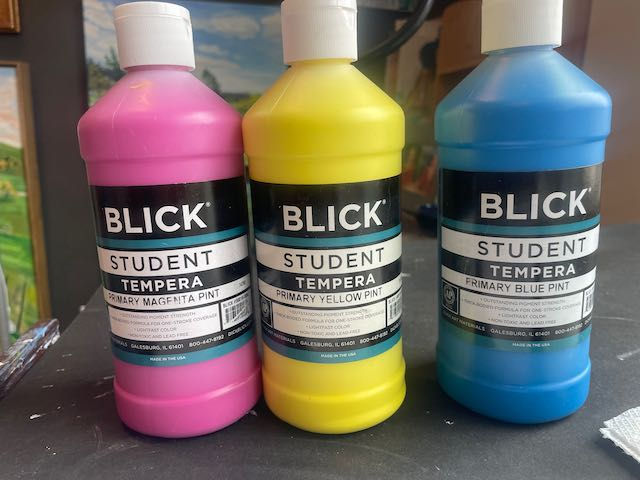
Feel free to show your students this video tutorial I made, it explains how to make the plaques! Below is a pic of the supplies you will need.

You will also need something for each child to put under their clay so that it doesn't stick to their desks. These foam sheets work great. You will also need clay and glaze.
Day of: Pass out the baggies of clay to each child. If you have a large class, make sure you have some parents volunteering to help you with this project.
I always tell students to start with the heads. Cut one for each family member. Ideally you already talked to them about who will go on their plaque, just immediate family members. If your class time is short I wouldn't bring up animals, most students wont have enough time. Although I do think it is adorable when they add their animals. Place the heads on the plaque without attaching them. Once the placement is correct, score and slip them. Then move on to clothing shapes. Students can cut the shapes with a toothpick or other cutting tool. Again have them score and slip before they attach them.
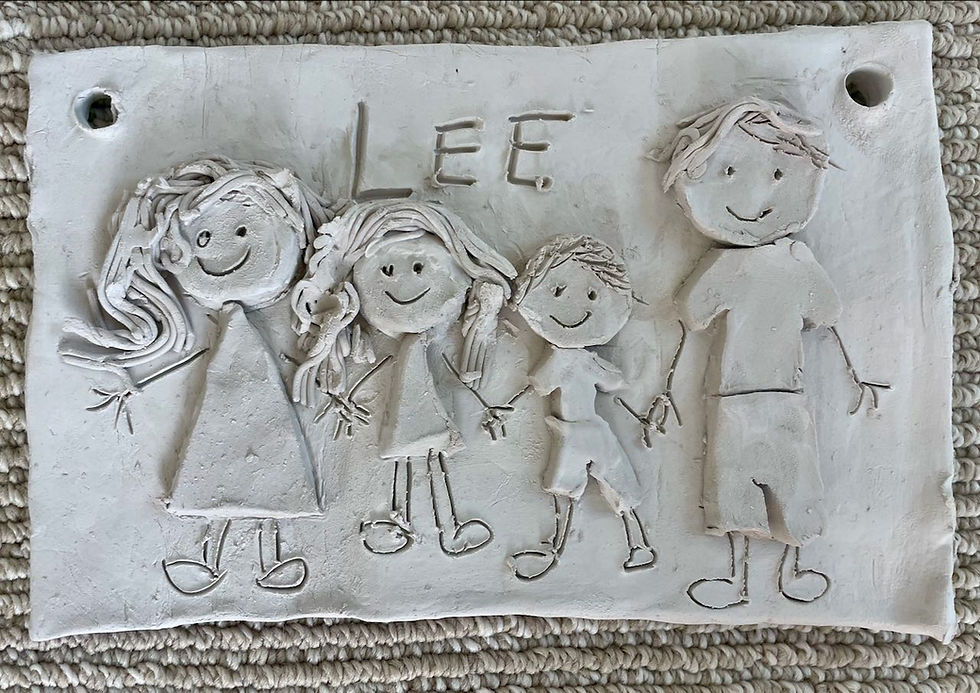
Lastly have them write their last name at the top, then have an adult put two holes in it for them for hanging. A golf tee works great for this part. Make sure the holes are plenty big, when the plaque gets fired in the kiln the clay will shrink along with the holes. The holes are for hanging with a string.
Once students are done put them in a box and put the boxes somewhere safe to dry. Let them dry with plastic loosely draped over them for approximately three weeks, then fire them. Lastly you will have students glaze them. This will take one class as well.
Here is the video tutorial of the project! The first video is making the plaque. The second is glazing it. Enjoy!
Here is the glazing video:


Comments