Styrofoam Printmaking for Valentine's Day!
- ArtfulMommy

- Jan 27, 2020
- 3 min read
Updated: Jul 19, 2023
Valentine's Day is right around the corner, that means it's time for Valentine's themed art projects. Kids both young and old love printmaking. I've done this project with high school kids, (minus the Valentine's theme) and it was always one of their favorite projects. If you are looking for a project to do in your classroom, your child's classroom, or just at home with your kids, read on.
This activity is also a great way to make homemade valentine cards. With one print you can make cards for a whole class full of kids! Just fold a piece of paper in half and create a small print that can be put on the outside.

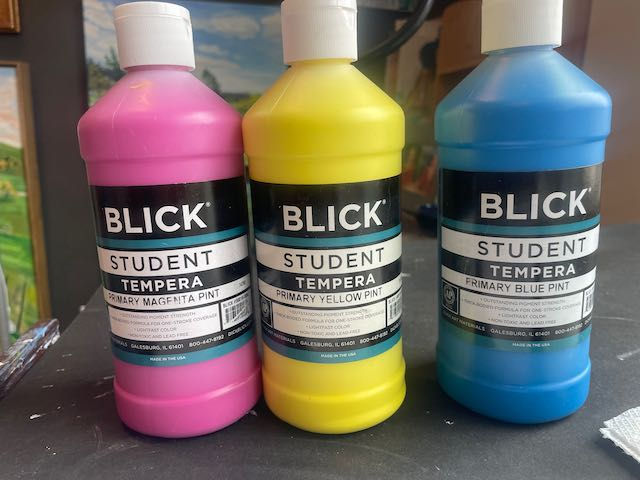
Warning, some supplies for this project are an investment, but please don't let that scare you off, because printmaking is going to be one of your students/kids favorite projects this year. You may be able to substitute cheaper paint for printmaking paint and brushes for brayers, but it won't look as good. Below is what I recommend.
Supplies: Brayers, printmaking ink, styrofoam boards (or substitute with styrofoam plates), flat plates or plexiglass for rolling out color, white paper and ball point pens. I'll be teaching this project in my daughters kindergarten class, so I purchased 4 brayers, and 4 different colors for the kids to experiment with.

Talk about design. With high school students I used to show my students lots of examples of printmaking then let them make any design they wanted, but with kindergarders it helps to give them a theme, otherwise you might end up with half a stick figure and scribble scrabble. A Valentine's theme is the perfect start. To make it more specific you can tell them to draw a large heart and fill it in with different patterns, or even better, fill it up with all of the things they love!
Instructions. Pass out a piece of styrofoam and a ball point pen to each kid. (I cut each piece of styrofoam in half before passing them out.) Show students how to draw on the styrofoam to create their design. (For older kids I would have them do a rough draft first on a piece of paper.) Explain that everything they draw or color in will actually appear white when they do their print. Also everything will appear backwards, including words. Because of this I would tell young kids not to put words into their drawing. Tell them to push hard with the ball point pen, but not so hard that it pokes through the styrofoam. You may need to ask them to go over their lines two times to make sure they are deep enough.

Advanced Design. If you are teaching older kids you can show them how they can cut up their final drawing and apply a different color of paint to each section, thereby creating a multicolored print.
Printing Station. Set up a specific area in the classroom for printing. In my high school classroom I used to have about 8 different colors laid out along a countertop, each color was on a piece of plexiglass with it's own brayer. For kindergarten I would limit the color choices to 3 or 4. Put newspaper over a table with the paints and brayers on top. Clean paper should be in a different location otherwise it will wind up covered in paint.
Making the print. Show students how to apply paint to the brayer by rolling it over the paint a few times until there is an even coat of paint on the brayer. Then apply it to the styrofoam print by rolling back and forth over the image until it has an even coverage of paint. Pay careful attention to make sure the entire print is covered with paint, especially the edges and corners.

Put your paper down and place the styrofoam print on top of it. Use your hands to rub all over the styrofoam until it has had even pressure everywhere and the paint has transferred to the paper. Then peel the styrofoam off and voila you have a finished print.

The beauty of printmaking is if your first print didn't turn out well you can apply more paint and try again. Or you can wash off your styrofoam print in the sink and try again with a different color. Students can make multiple prints.
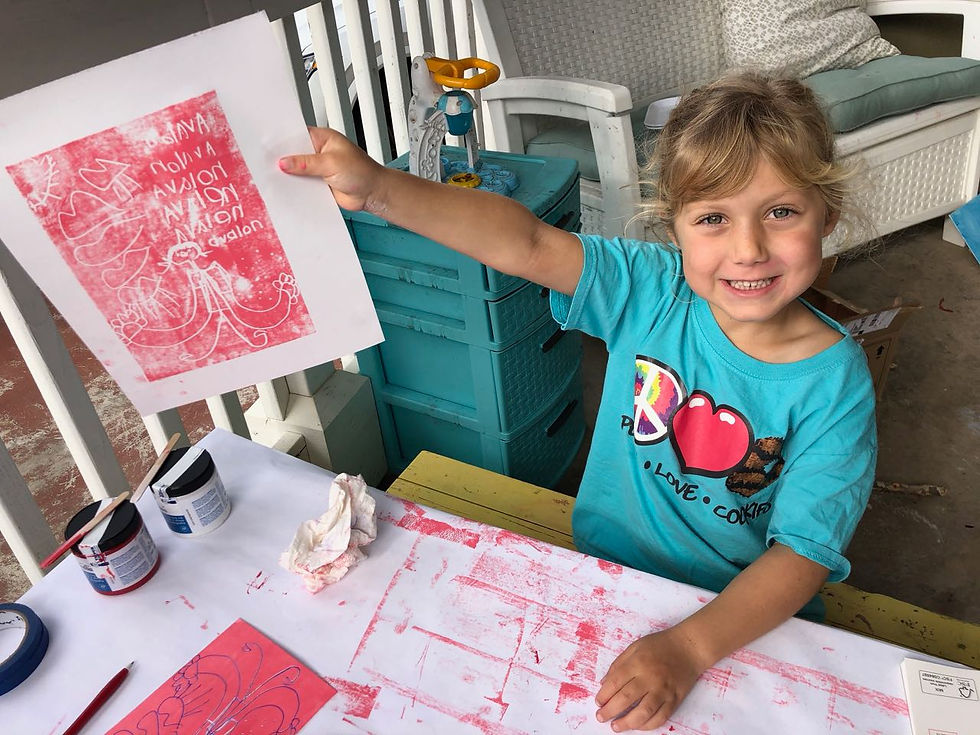
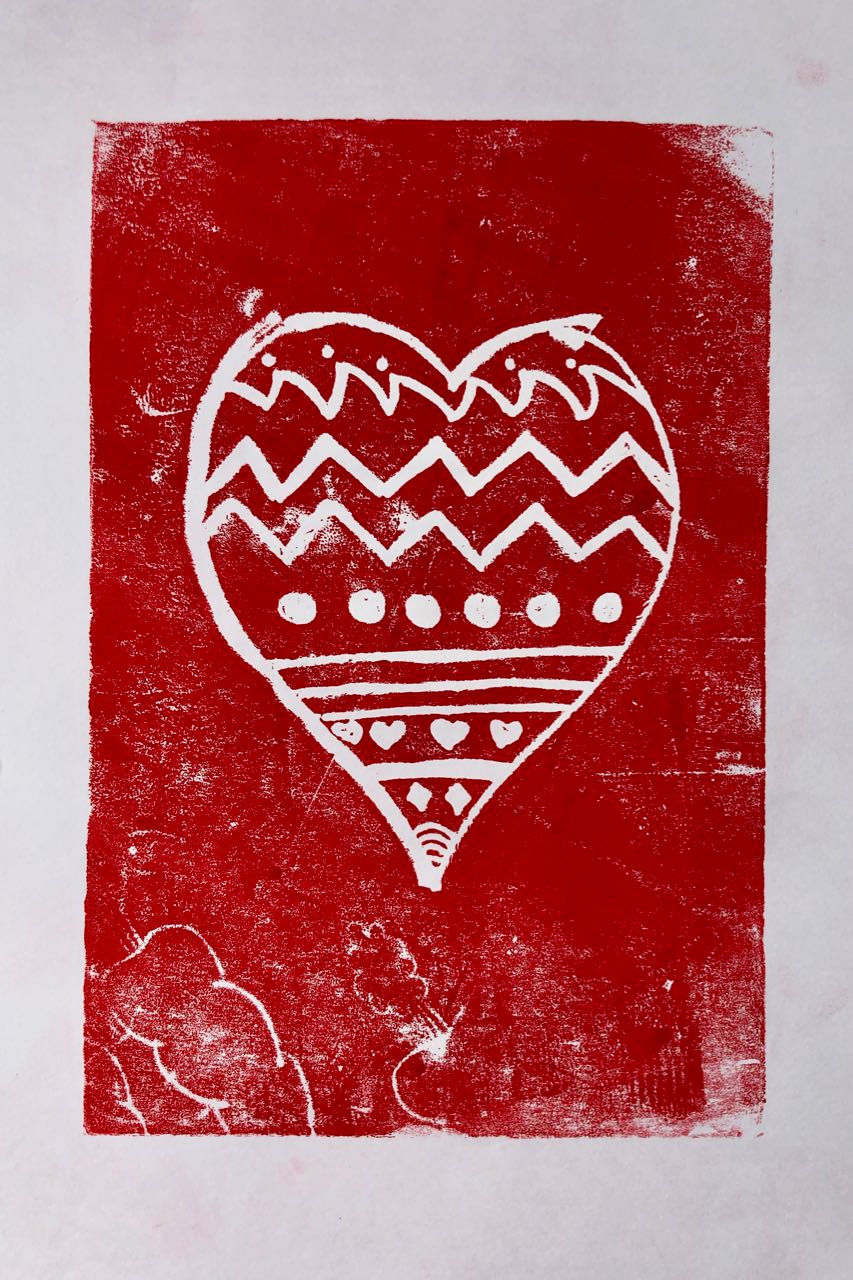
Above my daughter experimented with writing backwards on her print. Her print needed more ink. Below you can see a print that has a good amount of ink on it.
I'll update this post in a few weeks with more images after we do it in my daughter's classroom, until then, happy printmaking!


Comments