First Grade Colorful Bug Illustrations
- ArtfulMommy

- Feb 23, 2024
- 3 min read
Updated: Apr 11, 2024
Coming up with projects for the first graders is always the most challenging for me. I avoid crafts and draw alongs. Instead I focus on process art. First graders are still developing basic skills, they need lots of time to experiment with new materials. I decided to try an observational drawing project with them, and it turned out great! This was the perfect opportunity to introduce the idea of a rough draft and final draft while also revisiting drawing and watercoloring skills. Read on to see how we did these fun colorful bug illustrations!
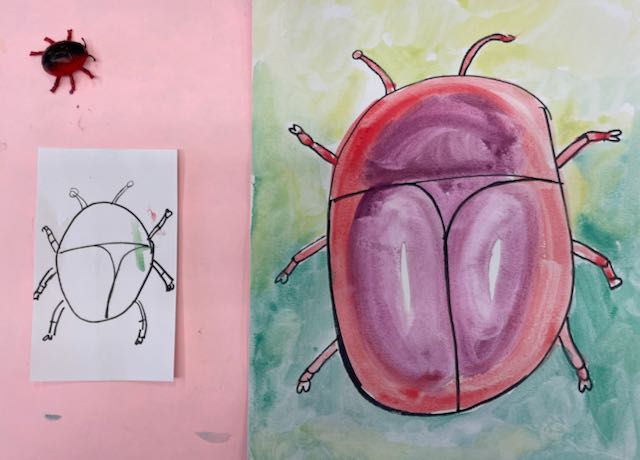
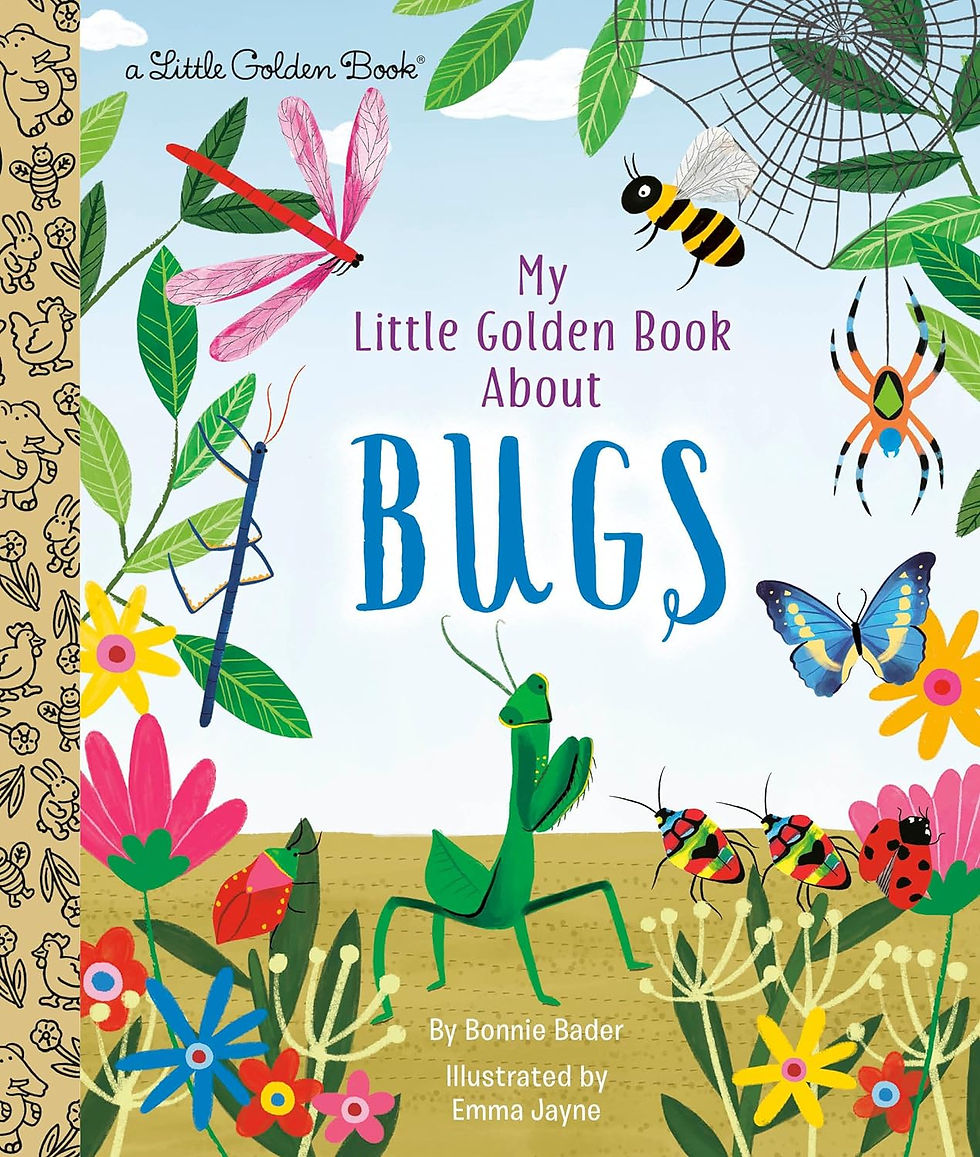
DAY 1: I purchased a bag of fake bugs, and placed a handful on each table. My students were SO EXCITED when they walked in the classroom and saw the bugs on their table. First graders love bugs, I had forgotten how much they love bugs until they saw this project set up. Before getting to work, I sat them down on the rug and read My Little Golden Book About Bugs.
Next I showed them how to draw a bug from direct observation. Start with the overall shape of the bug. Draw the lines and details you see on the bug. Add the legs and antenna, and make sure they are going in the right directions. We used a sharpie for this. I had them draw a "rough draft" on a small index card first, really big, then I gave them the bigger watercolor paper and again told them to make it really big. I always ask them to put their name on the front of their final draft, near the bottom, just like a real artist signs their work. It takes them years to learn how to write their name nice and small and neat at the bottom!
I was amazed that they were generally all happy with their bug drawings, there were no meltdowns. Yay! This is a great age to introduce drawing from observation, because they are not too critical of their own drawing skills yet. They love everything they do!
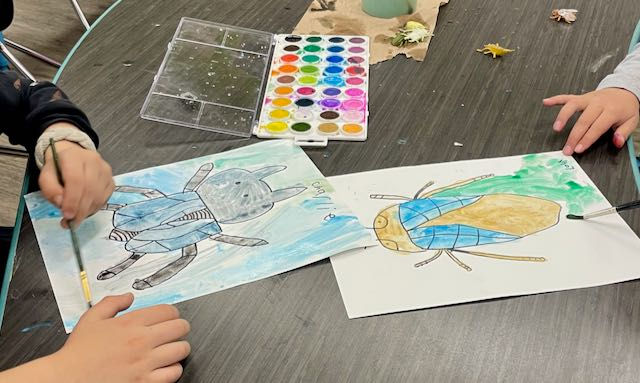
DAY 2: I had watercolors set out on each table. You could use liquid watercolors, pan watercolors or cake tempera paint for this project. I showed them how to paint using watercolors. Watercolor brushes are very thirsty! Add more water to create a lighter area, more paint pigment to create a darker area and leave the area white if you want a highlight. They won't know what a highlight is, so you will have to explain it, some still won't get it, and that's okay. Wash your brush between colors. If your water gets dark, dump it out in the sink and refill it half way, otherwise light colors will start to look muddy.
Next I passed out their final drafts and watercolor brushes so they could get started on painting. I allowed them to paint their bugs any colors they wanted to. At this age many of them know how to mix colors, but some are still learning, and leaving it opened ended gives them plenty of opportunity to experiment. I told them to paint the background any color they would like. I told them to avoid using black, because the black will cover the lines they drew. I usually take the black paint out, but with these watercolor pans the paint was not removable.
If they finish early I told them they could draw more rough draft bugs on the small index cards and left a whole stack out for them. They had so much fun with this project, I highly recommend it. You could do it in Kinder, First and Second Grades! My first graders did so good with observational drawing, I am now thinking of other things they could draw! Shells, small toys, flowers, a portrait of their favorite stuffy, the ideas are endless!






Comments